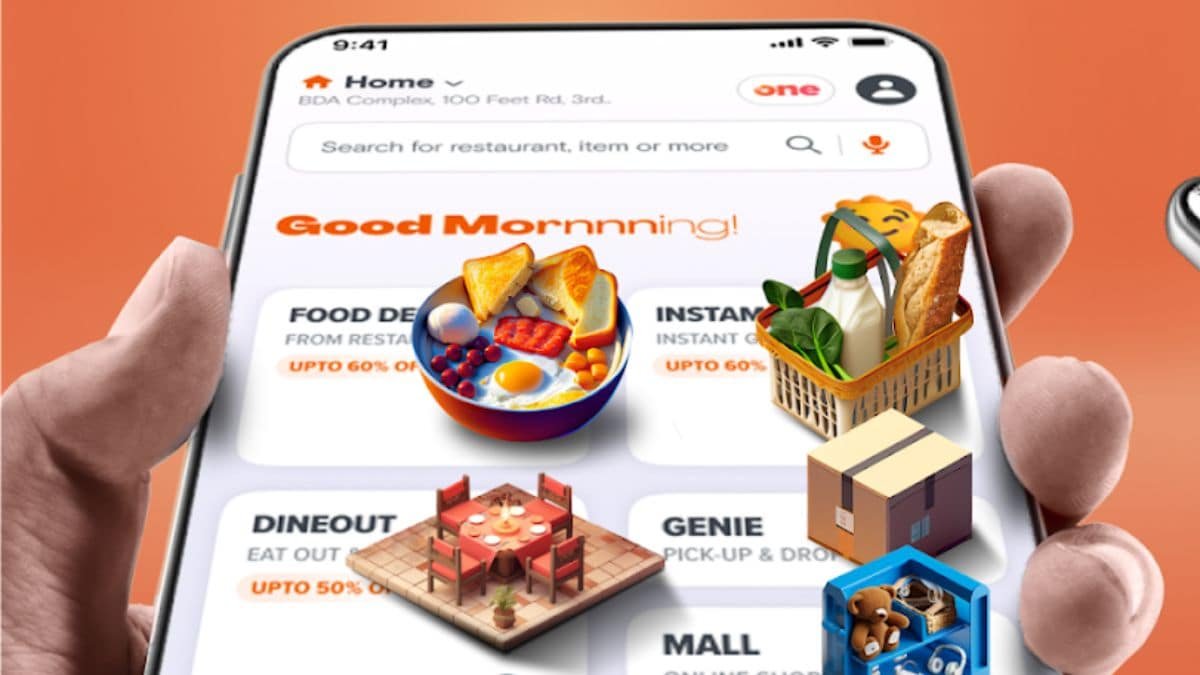
Swiggy launches Swiggy UPI backed by NPCI in India. This can reduce the time it takes to complete a UPI transaction on the platform from 15 to 5 seconds.
Get to know more about Swiggy UPI

Swiggy launches Swiggy UPI in India on Wednesday. The on-demand food delivery services platform has collaborated with the National Payments Corporation of India (NPCI). This collaboration is meant to roll out its UPI plug-in solution and it aims to improve the payment experience. It will bring an improved payment experience by reducing the number of steps it takes to complete a transaction. This will make the entire process quicker. The feature is already live on the platform and users can take advantage of it to get food and grocery.
Features of Swiggy UPI
According to the company, its new payment method leverages NPCI’s UPI Plugin. It eliminates the requirement for a Third Party Application Provider license from merchants when offering UPI services within their apps. Users can carry out transactions without leaving the Swiggy app. This will minimize payment failures that often occur when switching to third-party apps for completing the process.

Swiggy UPI aims to reduce the time it takes to complete a UPI transaction on the platform from 15 to five seconds. It will also inform the user of potential issues, such as insufficient funds, incorrect credentials or technical problems. Users can then take required actions and complete payments.
To use Swiggy UPI, follow these steps:
- Open the Swiggy app on your device.
- Navigate to the profile section by tapping the icon at the top-right corner of the screen.
- Find the Payments & Refunds option and select Payment Modes from the list of options.
- Swiggy UPI will appear as a payment method at the top. Tap on it and start the one-time registration process.
- The option will then verify the mobile number by sending an SMS and list any bank accounts linked to it.
- Select the bank account you wish to link and the process is complete.
For more information please keep reading techinnews


